BIM coordination happens on screens, but construction happens on dirt, and the gap between the two is where rework lives. Augmented reality closes that gap by putting the coordinated model directly on the site, at full scale, aligned to the real structure. This guide covers the practical pipeline for doing that: converting Revit models into something a mobile device can actually render, anchoring the overlay accurately with markers and sensor fusion, running clash detection in the field, choosing between headsets and phones, capturing existing conditions with scan-to-BIM and drone photogrammetry, and closing the loop with the Autodesk toolchain for development ROI modeling.
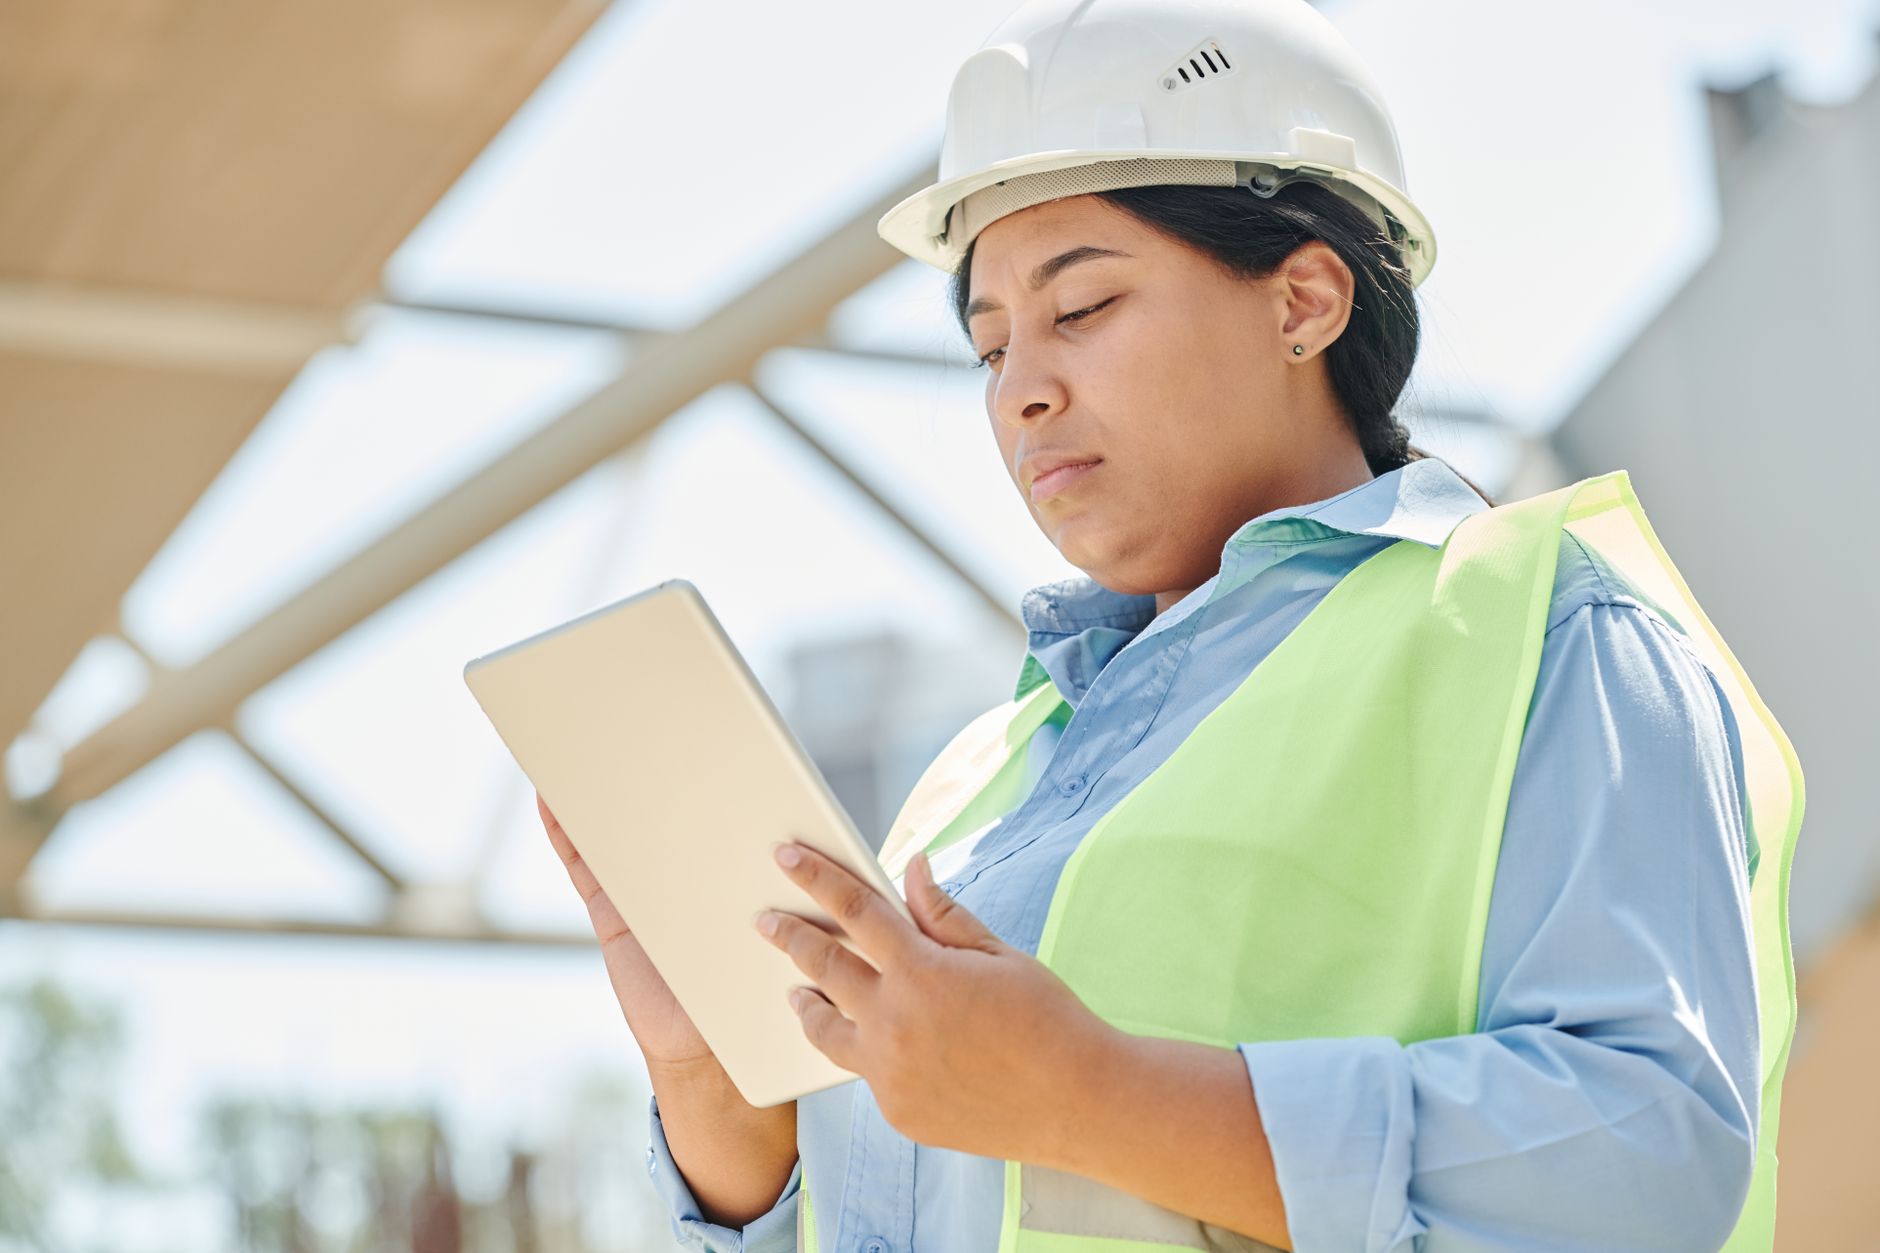
AR & BIM on the Construction Site: A Practical Guide
How to put BIM models on the construction site through AR: conversion, anchoring, clash detection and reality capture.
Why overlay BIM on the physical site
A coordinated BIM model is a promise about where things should go. The site is the truth about where things actually are. AR overlays put the two in the same field of view: a superintendent looks through a phone or headset and sees the designed ductwork, hangers and sleeves projected onto the unfinished slab in front of them. That single capability drives the practical use cases: verifying that as-built work matches design before the next trade covers it up, catching clashes between planned systems and field conditions while they are still cheap to fix, and communicating design intent to crews without asking them to mentally rotate 2D drawings into 3D space.
The rest of this guide is the engineering reality behind that promise: models that are too heavy to render, anchoring that drifts, and capture workflows for the existing conditions your model does not know about.
From Revit to AR: the conversion and optimization workflow
A production Revit model will not run on a phone as-is. The conversion workflow that works:
- Export from Revit as FBX or IFC. Both carry geometry reliably; IFC preserves more BIM semantics for downstream filtering.
- Decimate the mesh in Blender or Autodesk 3ds Max down to mobile-friendly polygon counts, under 200K polygons for the loaded scene. Detail that matters in a rendering (bolt threads, manufacturer-accurate fixtures) is dead weight in a field overlay.
- Split the model into location-based sections that load independently: per floor, per zone, per system. Loading only the geometry around the user's position keeps memory in bounds and prevents the app from crashing mid-inspection.
- Place physical markers through the building so the app can recognize where it is and lock the overlay onto the real structure (more on anchoring below).
The full step-by-step lives in our FAQ: how to convert a Revit BIM model into a lightweight AR experience. The discipline to internalize: optimize for the question the field user is asking ("does this duct clear this beam?"), not for visual fidelity.
Anchoring accurately: markers, GPS and visual-inertial tracking
An overlay is only as useful as its registration. Ten centimeters of drift turns clash detection into guesswork. The proven approach on active sites is fiducial markers: ArUco or AprilTag patterns printed on weatherproof signs and placed at known, surveyed coordinates throughout the site. The AR application detects a marker through the camera, computes the device's exact position and orientation relative to it, and anchors the BIM overlay with centimeter-level accuracy. Using multiple markers keeps registration tight as the user moves: each newly sighted marker re-grounds the tracking before drift accumulates.
For open areas where placing markers is impractical, combine GPS for coarse position with visual-inertial odometry for smooth frame-to-frame tracking, plus surface detection from Lidar-equipped devices to snap the model onto real planes. The practical hierarchy: markers where accuracy is critical (anything MEP), sensor fusion where context is enough (site logistics, massing checks). Marker technique details: marker-based anchoring techniques for construction sites.

Anchoring accuracy
Ten centimeters of drift turns a useful overlay into a liability.
Clash detection in the field
Desktop clash detection compares model against model. Field AR clash detection compares model against reality, and that catches a class of conflict that even thorough BIM coordination misses: the pipe that was installed 8 centimeters off its modeled position, the field-routed conduit no one documented, the slab penetration that did not make it into the as-built set. By overlaying the model's MEP systems (mechanical, electrical, plumbing) onto the physical site, a project manager can see planned-versus-actual conflicts in real time, while the fix is a conversation instead of a demolition order.
Tooling is mature here: Dalux, Trimble Connect and Autodesk BIM 360 all support on-site AR clash visualization against the coordinated model. The workflow that pays off is inspection-gated installation: before a trade closes up a ceiling or wall, walk the zone with the overlay and verify the systems inside it. Deeper treatment: using AR to detect structural and MEP clashes before construction.
Headsets vs phones on site
The honest answer for most teams is phones and tablets first. The devices are already in every pocket, they survive being handed between a superintendent and a subcontractor, and browser-based AR removes even the app-install step: at Augmento our WebAR engine runs experiences directly in the mobile browser using computer vision, SLAM and GPS, rendering 3D content in real time at 60fps with no native app installation. On a jobsite where subcontractors churn weekly, "scan this QR code" is an adoption strategy; "install this app and log in" is a support ticket.
Headsets earn their place where hands-free matters: an installer who needs both hands on the work while referencing the overlay, or extended inspection sessions where holding a tablet at arm's length fatigues. They come with trade-offs on cost per unit, device management, and site-safety compatibility. A pragmatic pattern: phone-based AR for the many (inspections, walkthroughs, client and stakeholder visits), headsets for the few workflows where hands-free is the requirement.
Capturing reality: scan-to-BIM and drone photogrammetry
Overlaying design onto reality assumes you know what reality is. Two capture workflows feed that.
Scan-to-BIM for buildings
The standard 7-step process: (1) site preparation and scan planning, (2) reality capture with Lidar scanners at comprehensive positions, (3) point cloud registration and alignment, (4) noise filtering and cleanup, (5) 3D mesh reconstruction from the point cloud, (6) BIM modeling, converting the mesh into intelligent Revit or ArchiCAD elements with material properties, and (7) quality assurance comparing the finished BIM model back against the original scan data. The output is the as-built model your AR overlay should be registered against, not the design model that predates field changes. Full walkthrough: the complete 7-step scan-to-BIM process.
Drone photogrammetry for sites
For plots and site context, fly a survey-grade drone (DJI Matrice or Phantom series) in an automated grid pattern with 70 to 80% image overlap at multiple altitudes. Process the images in Pix4D, RealityCapture or Autodesk ReCap to produce a dense point cloud and textured 3D mesh. That output flows into Autodesk Civil 3D, Formit and Revit for volume calculations, grading analysis and site planning, and it doubles as the terrain context for full-scale AR previews of the unbuilt project. Details: drone photogrammetry for accurate 3D site models.
Reality capture, from site to model

Drone photogrammetry: overlapping aerial passes become a measurable site mesh

Survey control: total-station points anchor the model to the site datum
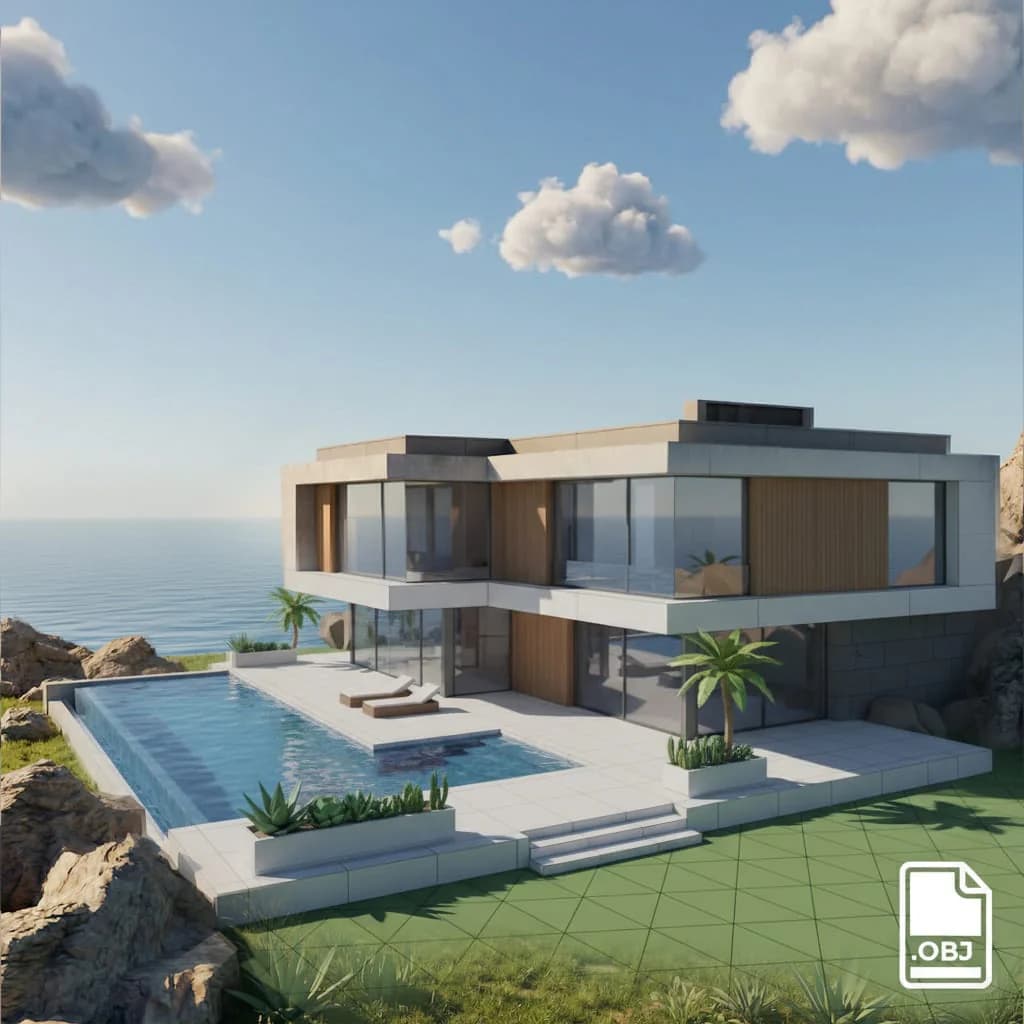
The deliverable: an optimized, AR-ready 3D model exported from the design files
The Autodesk toolchain: Formit, Infraworks, Revit and ROI modeling
The same model pipeline that feeds field AR also feeds the development pro forma, and Autodesk's ecosystem is built for that interoperability. Formit handles early-stage conceptual massing, and its models transfer directly into Revit for detailed BIM development. Infraworks covers site-level civil engineering and contextual modeling around the parcel. Used together, they let a development team iterate rapidly on building massing, site utilization and construction cost, feeding ROI calculators that compare development costs against projected rental income or sale prices.
The AR connection: those same iterations can be pushed to the site or the sales suite as full-scale overlays, so the massing option being debated in Formit can be stood on the actual parcel and walked around. For developers, that also becomes a sales tool well before groundbreaking, as covered in our guide to marketing unbuilt developments with AR.
If you are evaluating AR for an active project, we build no-app, browser-based AR experiences for construction and real estate development teams, from model optimization through on-site anchoring. Get in touch to scope a pilot.
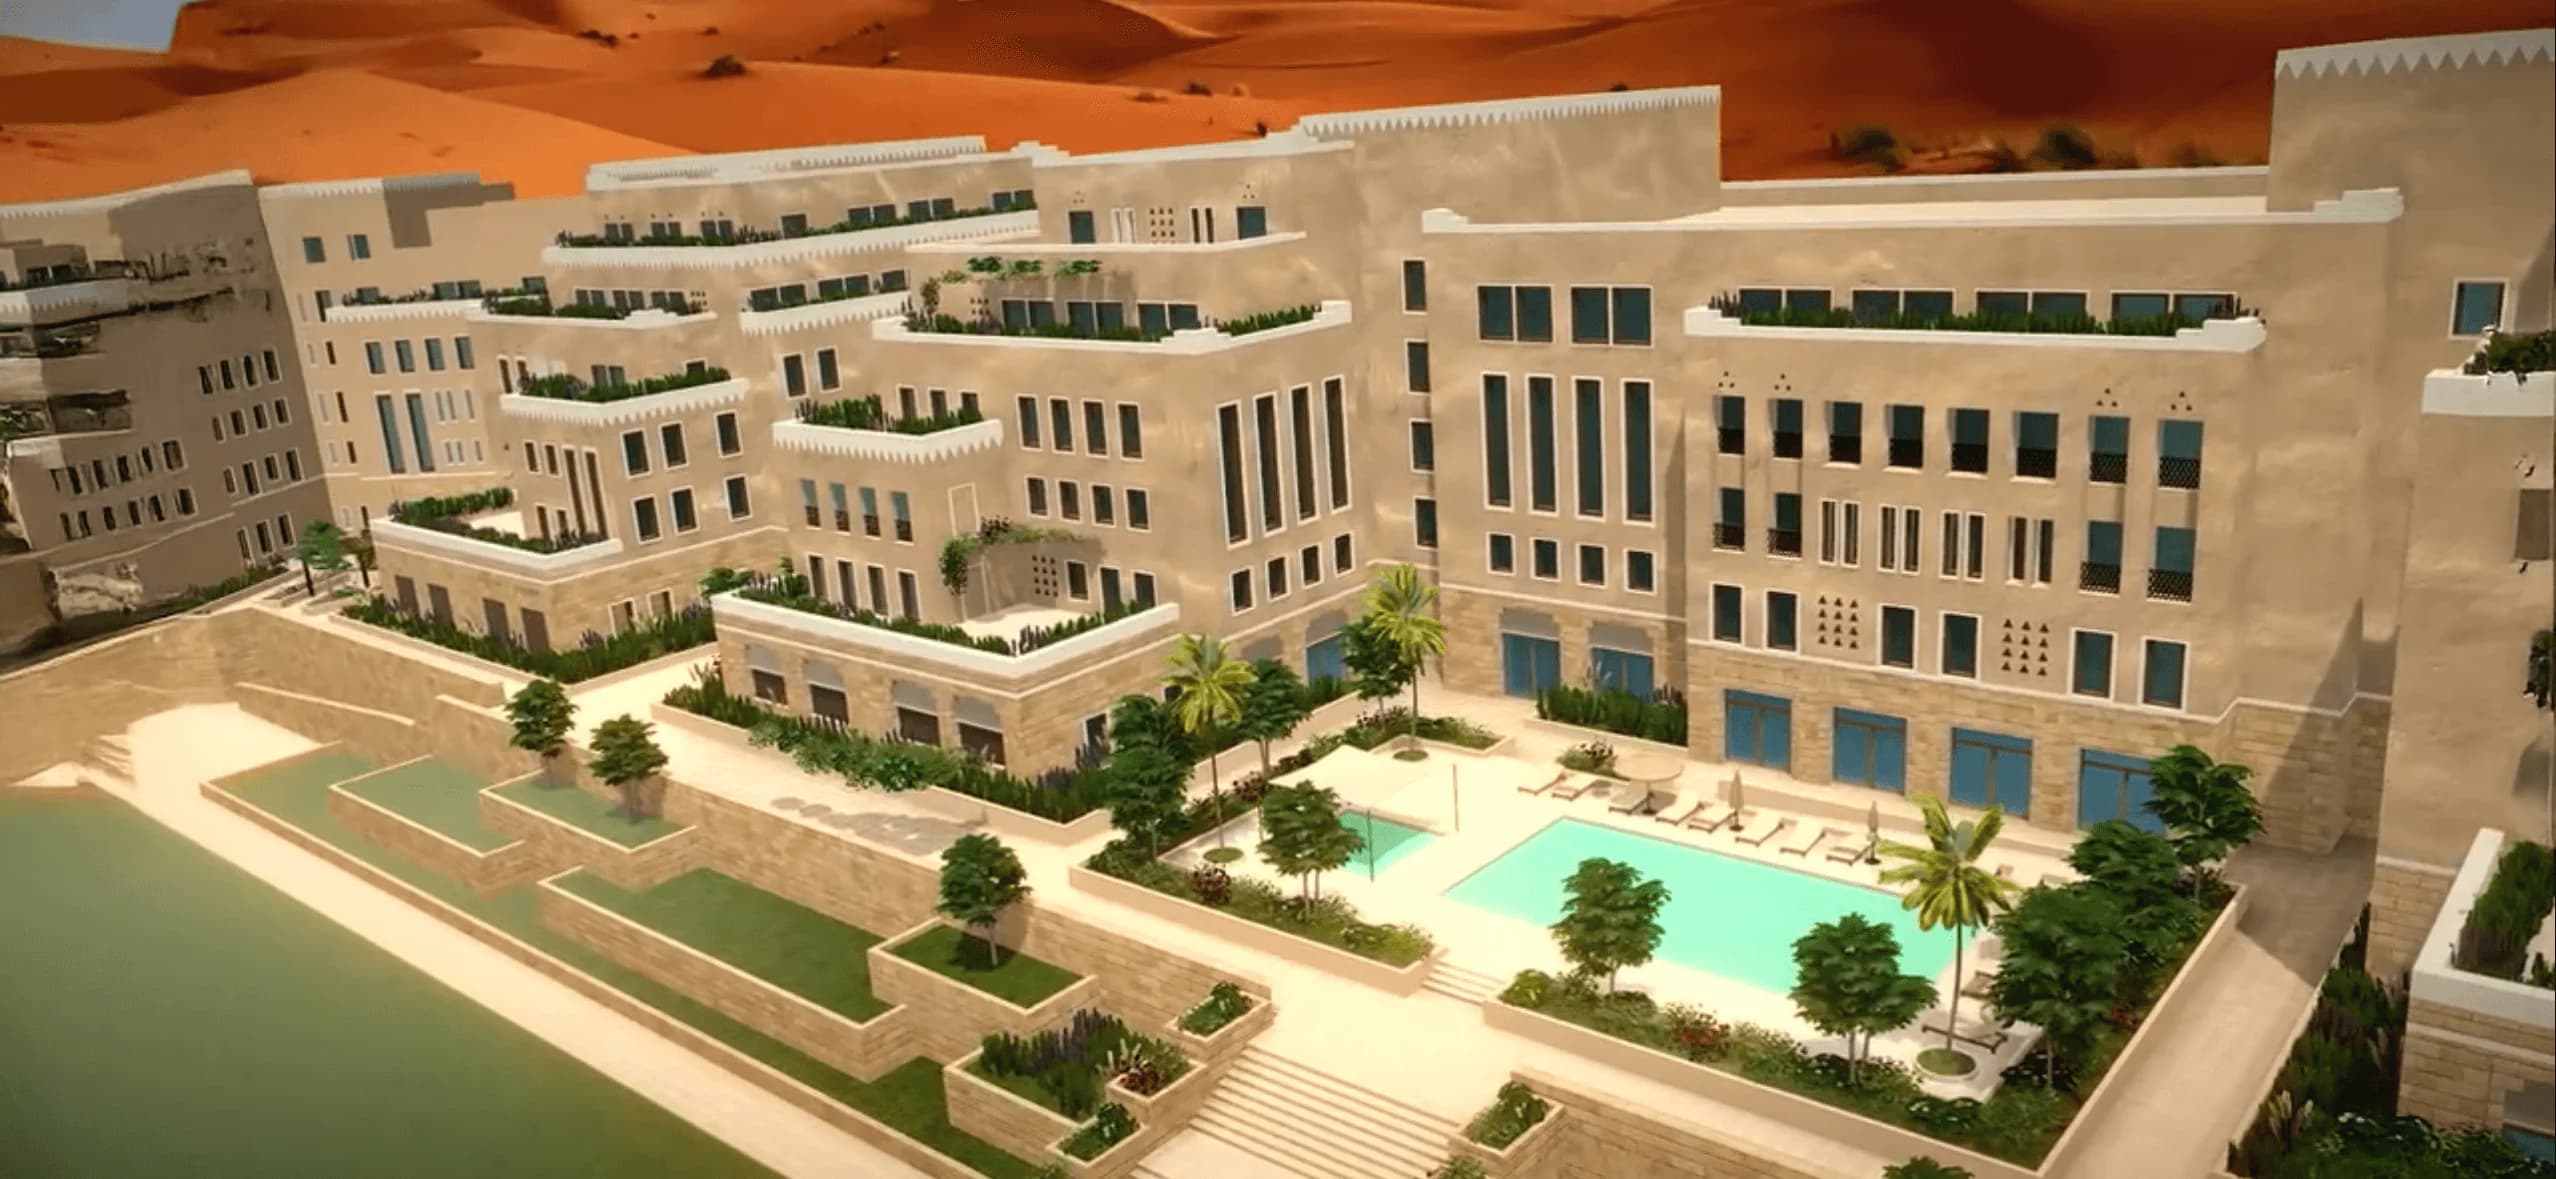
One model pipeline, two payoffs
The same optimized BIM model that guides field crews also powers the development’s AR sales presentation.
Quick answers
Pilot AR on your next project
From model optimization to on-site anchoring, we build no-app browser AR for construction and development teams.